Your Source for Winnipeg Cleaning Services: We Make Your Life Cleaner
Wiki Article
Deck Discoloration Made Easy: Step-by-Step Guide for DIY Fanatics
Are you a Do it yourself enthusiast looking to offer your deck a fresh new appearance? In this step-by-step guide, we will certainly stroll you via the procedure of deck staining. With our easy-to-follow instructions, you'll be able to change your deck into an attractive exterior area in no time.Preparing the Deck Surface
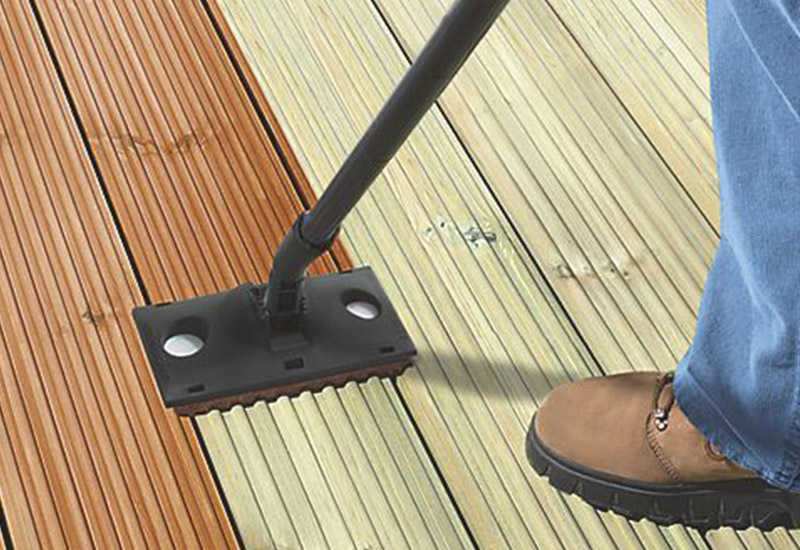
Prior to you start staining the deck, make certain you're effectively cleansing as well as sanding the surface. This step is critical in guaranteeing a smooth and durable surface. Begin by getting rid of any furniture or plants from the deck. Brush up away any kind of loosened dust or debris making use of a mop. Then, utilize a power washer or a tube with a high-pressure nozzle to thoroughly cleanse the deck. Pay close focus to areas with persistent spots or mold, and use a deck cleaner or a mixture of cozy water and mild cleaning agent to treat them. After cleaning, allow the deck to completely dry completely for at least 24 hr.Once the deck is completely dry, it's time to sand the surface area. Grab a handheld orbital sander or a sanding block, as well as begin sanding the deck boards in the direction of the wood grain.
Picking the Right Discoloration
When choosing on the proper discolor, you'll intend to consider the kind of wood you're dealing with. Various kinds of wood have different attributes that can affect just how well they absorb the tarnish. Softwoods, like yearn or cedar, often tend to take in stain more readily than hardwoods, such as oak or mahogany. Maintain this in mind when selecting your stain to guarantee you accomplish the wanted surface.Along with the sort of timber, you ought to likewise consider the color you wish to attain. Spots are available in a selection of tones, from light to dark, as well as can significantly transform the look of your deck. If you're wanting to enhance the all-natural shade of the wood, pick a transparent or semi-transparent discolor. These allow the timber grain to reveal with while including a refined tip of shade. For an extra dramatic impact, go with a strong or opaque tarnish, which will entirely cover the wood and also give a vibrant, consistent color.
Last but not least, think of the level of security you desire for your deck. Stains with higher levels of pigment often tend to supply better security versus UV rays as well as moisture. If your deck is subjected to severe weather, it deserves investing in a tarnish with included safety qualities.
Cleansing and also Fixing the Deck

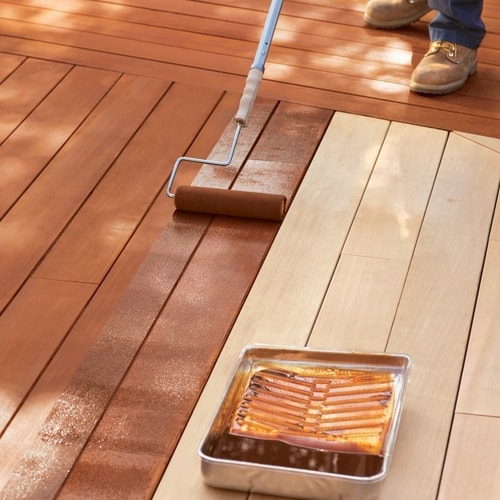
Using the Stain
Ending Up Touches as well as Upkeep Tips
After using the final layer of tarnish, it is essential to regularly go to my site clean and seal your deck to preserve its appeal and secure it from the elements. Cleaning your deck must become a part of your regular maintenance routine. Utilize a mop or leaf blower to eliminate any dirt, leaves, or debris that might have gathered externally. For a much deeper clean, you can make use of a power washing machine, yet take care not to use way too much stress website link as it can damage the timber. As soon as the deck is clean, it's time to secure it. Choose a top notch sealer that is particularly designed for decks and apply it according to the producer's guidelines. A sealer will not just shield the wood from wetness and UV rays, but it will additionally boost the color as well as finish of the stain. It's advised to use a new coat of sealant every Visit This Link 1-2 years to maintain your deck looking its ideal. By routinely cleaning and securing your deck, you will expand its life expectancy and guarantee that it remains a lovely and also inviting outdoor room for several years to find.
Conclusion
Report this wiki page